Ideas from Ed: Chair repair (Volume 5, Issue 6)
- edwardpetrus

- May 31, 2022
- 3 min read
Stuff happens. It happens to all of us, as well as to nice old pieces of furniture. Maybe a chair has reached its lifespan and should be discarded, or maybe a 2-year-old grandson fell backward through it! (At least he wasn’t injured…) In any case, with a bit of effort along with a few tools you might have or can borrow from friends, repairs can often be made. Here’s a picture of this month’s project. I hope you’ll agree it was worth saving, especially since it’s part of a matched set of dining room chairs.

The first step was to take the chair apart. For that, I used my trusty mallet (a homemade special I built 40 years ago of rock maple.) A few aggressive taps and the old glue holding things in place had no choice but to surrender.

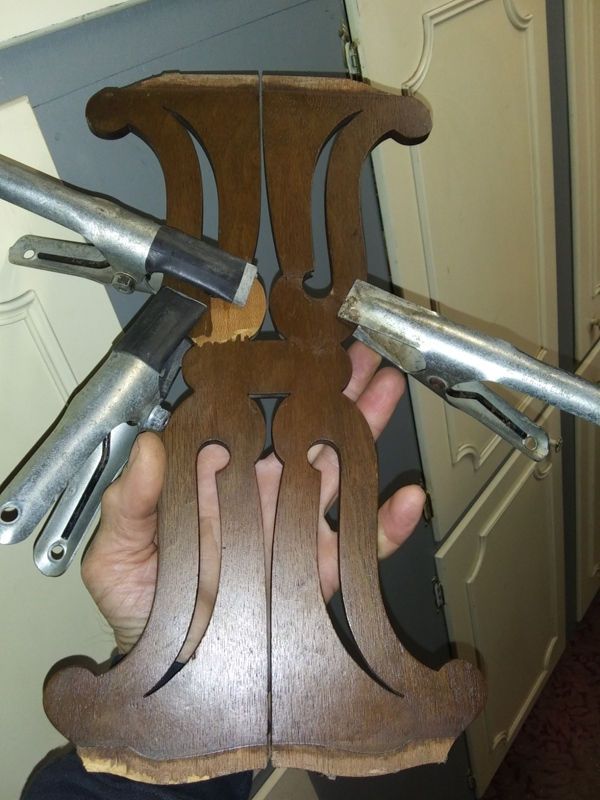
I then did my best to glue the broken pieces together well enough that I’d be able to accurately trace them onto new wood.
Although the original was a veneer, I like to use solid wood whenever I can. I carefully edge-glued some clear poplar into a unit large enough to use, and then ran it through my planer until its thickness matched that of the broken part.

I used just the inner workings of a ballpoint pen to trace the pattern onto my new board. That allowed me to get pretty easily into spaces too small for a larger marker to reach.


While a bandsaw with a very narrow blade could have been used for at least part of the cutting, I used a scroll saw for everything. For the cutouts that don’t reach the edge of the board, the scroll saw would be needed anyway. Many scroll saws, like this one, pump air to the cutting point to help keep sawdust from obscuring the view. It was a beautiful day, so most of my work was actually done outdoors!

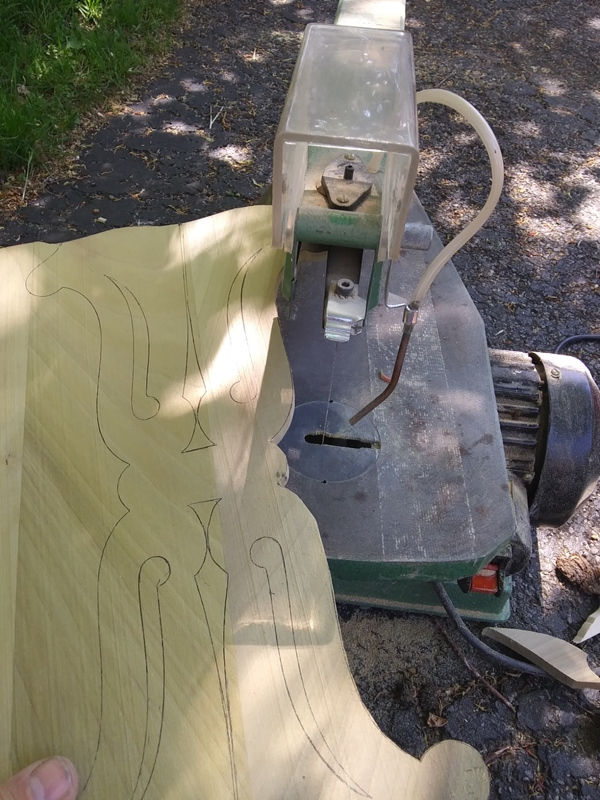
It’s very satisfying when things begin to really take shape!

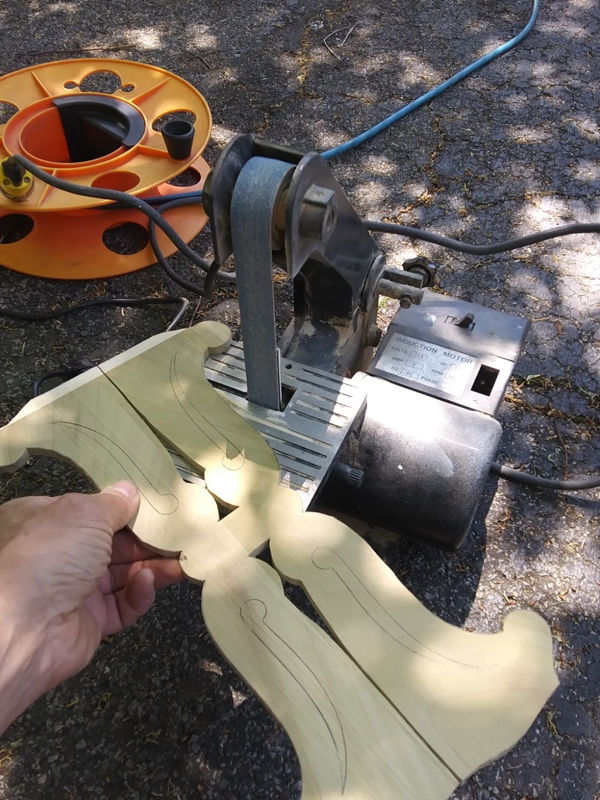
When cutting, I tried my best to stay just a hair outside of my inked lines. Then I used a strip sander to get the final dimensions. Some sanding by hand was needed where the strip sander couldn’t reach.
For the cutouts that didn’t reach the edges, I had to drill holes in the wood. The scroll saw blade was removed from the saw, inserted through the hole, and then the blade was installed back into the saw. Rather than cut the circular parts of the pattern, I used those spots to drill the holes. Making my holes the same size as the needed circles gave a very precise shape. I used a Forstner bit in my drill press. Forstner bits cut from the outer edge, unlike “spiral” drill bits which leave much more ragged holes.

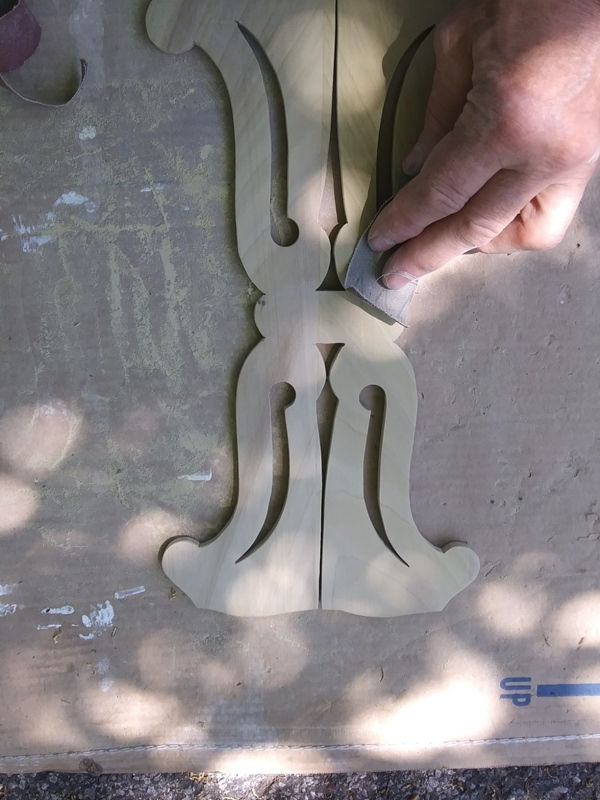
After finishing those cutouts, a final sanding was done by hand. Here’s the new piece next to the old one.
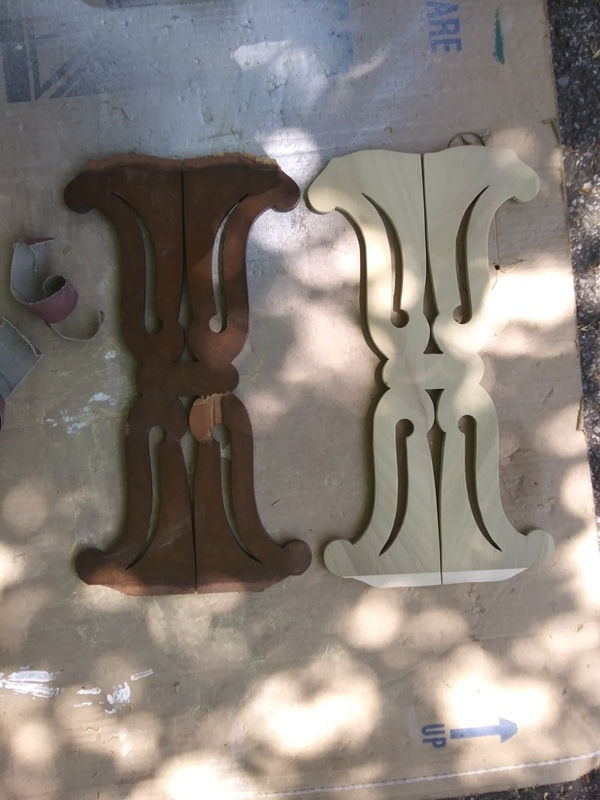
I used a penetrating wood stain and a spray polyurethane coating to get the new wood to be a close color and sheen match to the original. I had to buff down the final coat with paste wax and steel wool so it wasn’t too glossy.
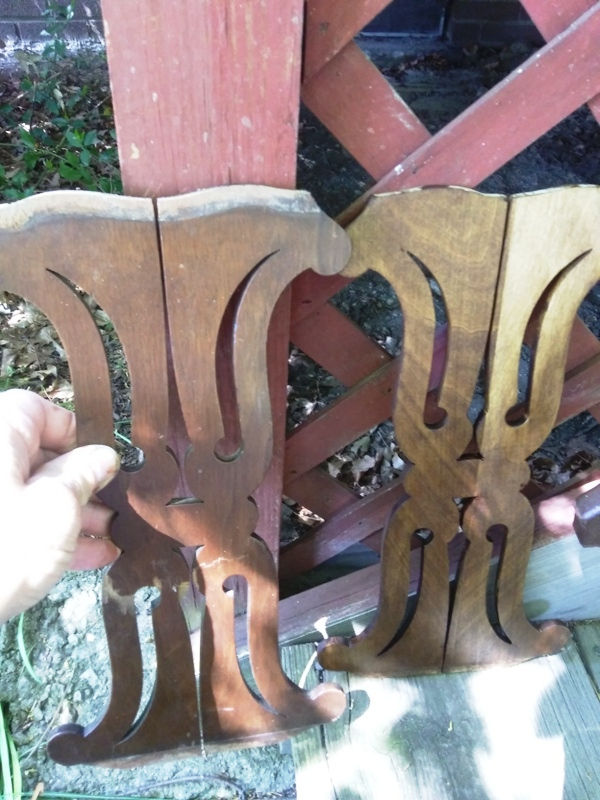
You may have noticed in the first picture in this article that there was also damage to the top of the chair. One pin connecting the “top” to the “arms” was intact and just pulled out of the crosspiece, but the other was broken in half. While the intact one could be re-glued, the other would need to be repaired. Here are close-ups of those two connections:


In order to drill both parts of the section with the broken dowel pin, I used a self-centering doweling guide. It clamps right onto the part and aligns the hole side-to-side. (It needs aligned end-to-end using the indicator marks, depending on the size of the pin.) I was using a 3/8” pin with grooves along the side (to better hold things and to allow for glue space.) The doweling guide also keeps things going straight into the part by eliminating any wiggle while holding the drill.
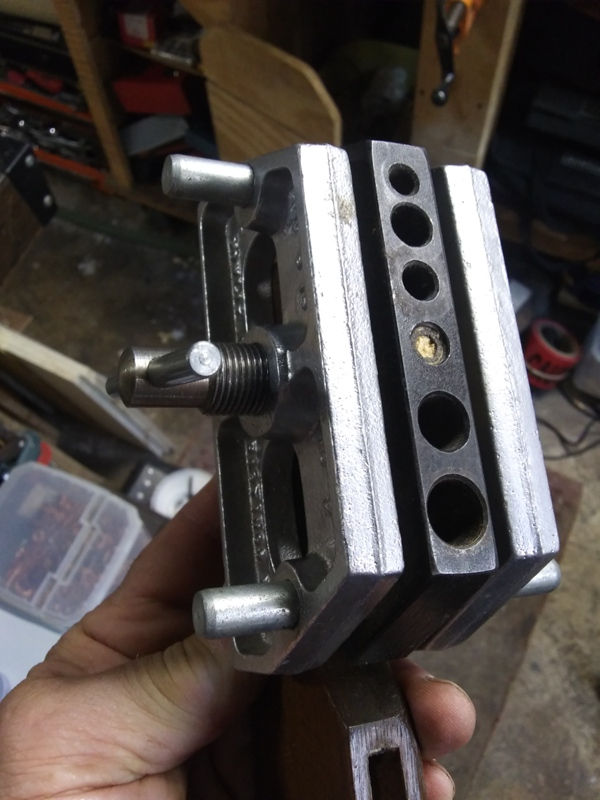
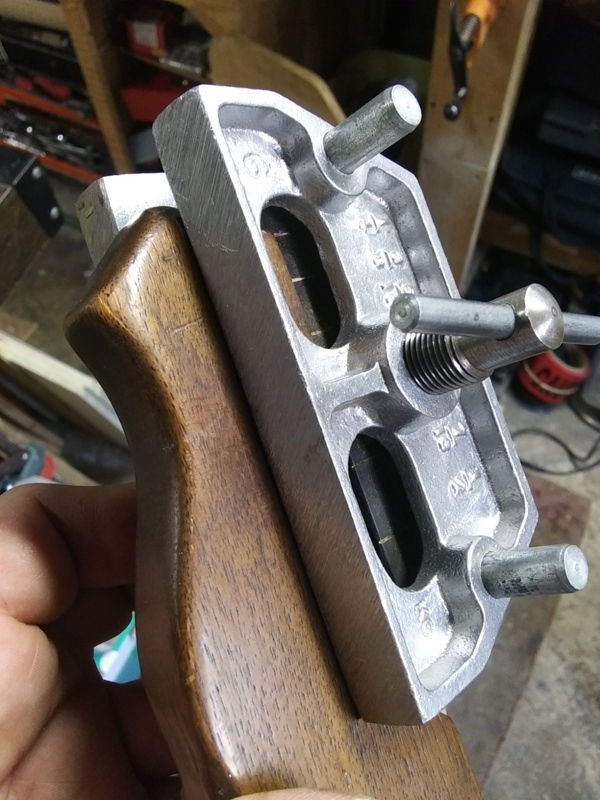

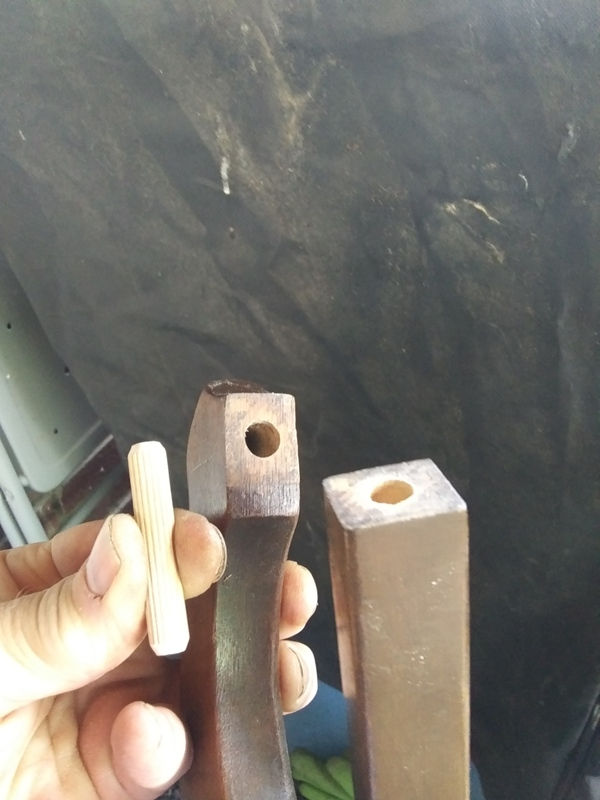
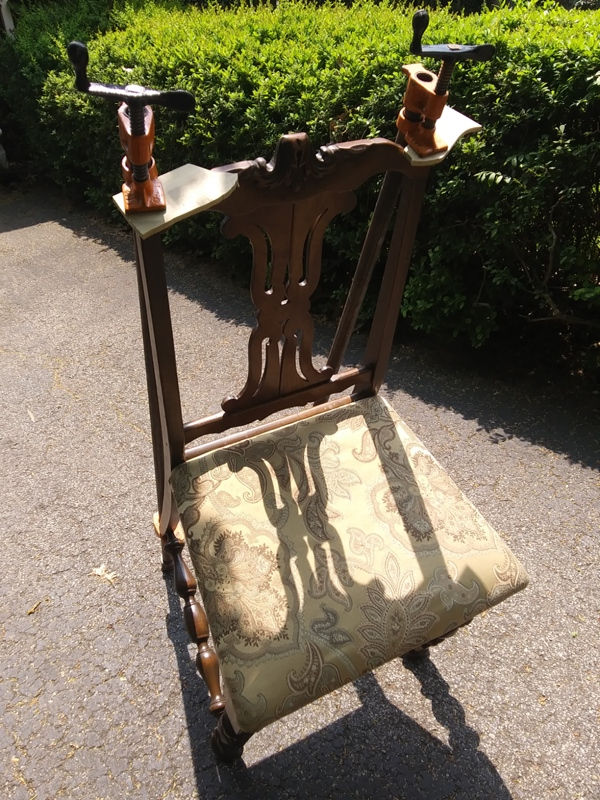
I spread some good wood glue into the recesses and holes, drove the dowel pin in, and began assembly. I used two long pipe clamps to hold everything together while the glue dried.

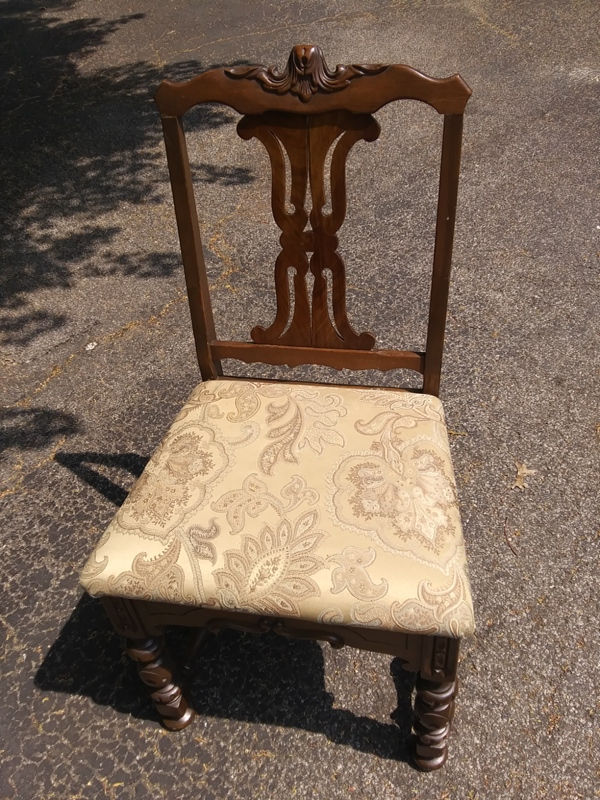
Here’s the finished product!
I hope all your projects go well. Thanks for reading, and happy restoring!
Ed
If you’d like to download a PDF of this “Ideas” column, click here:


Comments