Ideas from Ed: The Happy Sad Iron (volume 4, issue 1)
- edwardpetrus

- Jan 1, 2021
- 2 min read
Updated: Jan 19, 2021
Here’s a fun little project that I doubt took more than an hour, start to finish. Sad irons (I believe the “sad” means “solid”) were used to press clothing prior to the electric irons we now use. They are super abundant at yard sales, flea markets, and antique shops, and are not very expensive. Most families had one, and many had more than one, so as one was being used, and cooling down, another was on the stove heating up, so ironing could be done more-or-less continually. Once cleaned up, they can be nice doorstops, paperweights, or with a bit of imagination, made into bookends and other projects. It seems one of the more common types had “Asbestos sad iron” written on it, like this rusty example:

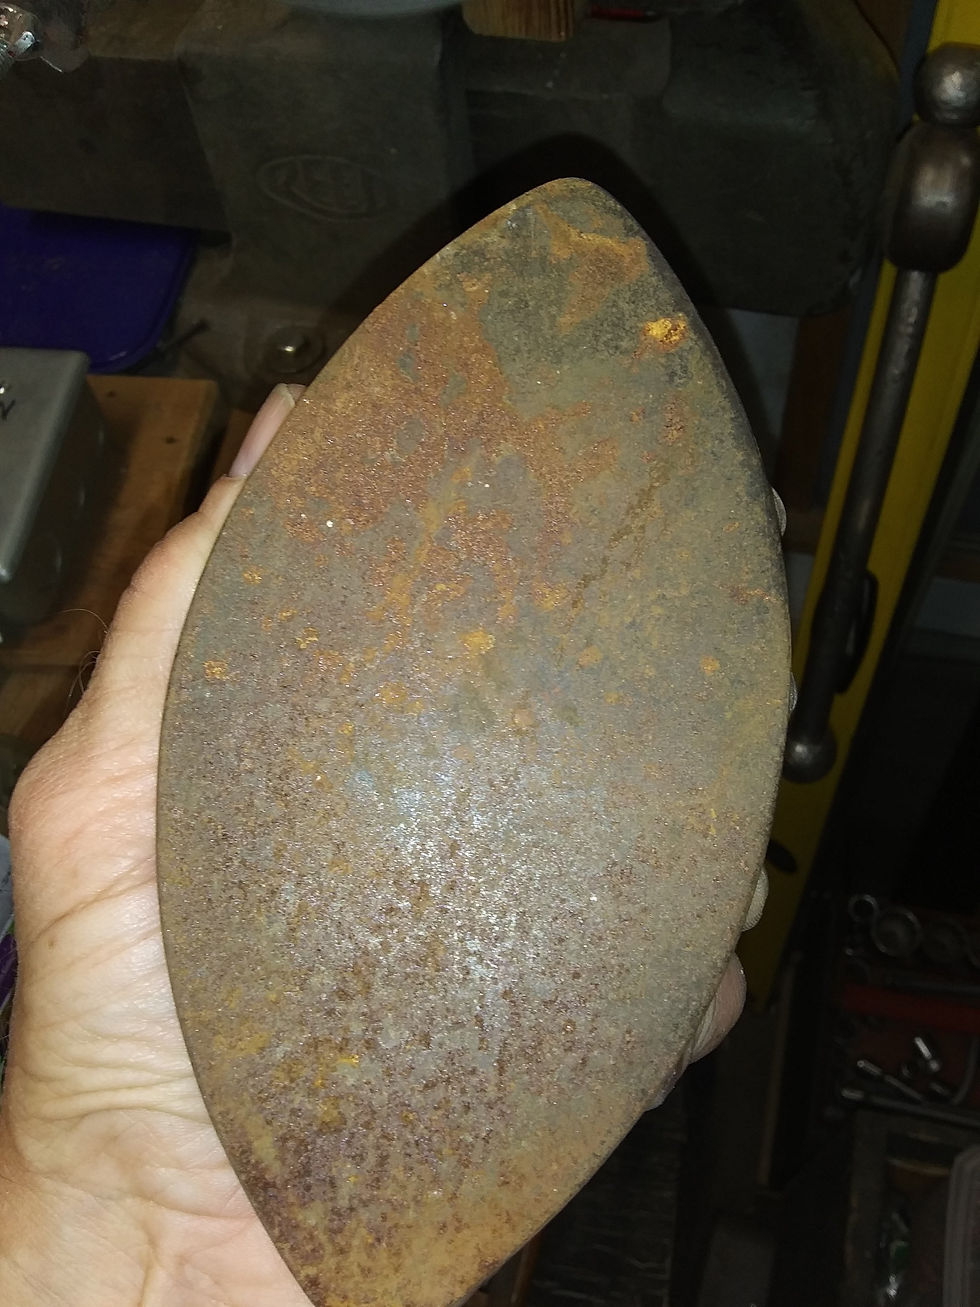
Originally there would have been another metal shell covering this, with a handle several inches above, and asbestos built in to keep the handle cool to the touch despite the hot metal iron itself.
In one of my articles quite a while ago, I extolled the virtues of having a good wire wheel in the shop, and how nicely it works to remove paint and rust from small, hand-held articles. For most uses, it’s best to have a brass wire wheel instead of a steel wired one. Here’s my wheel setup, mounted on a motor, and chucked into the jaws of a large vise for stability.
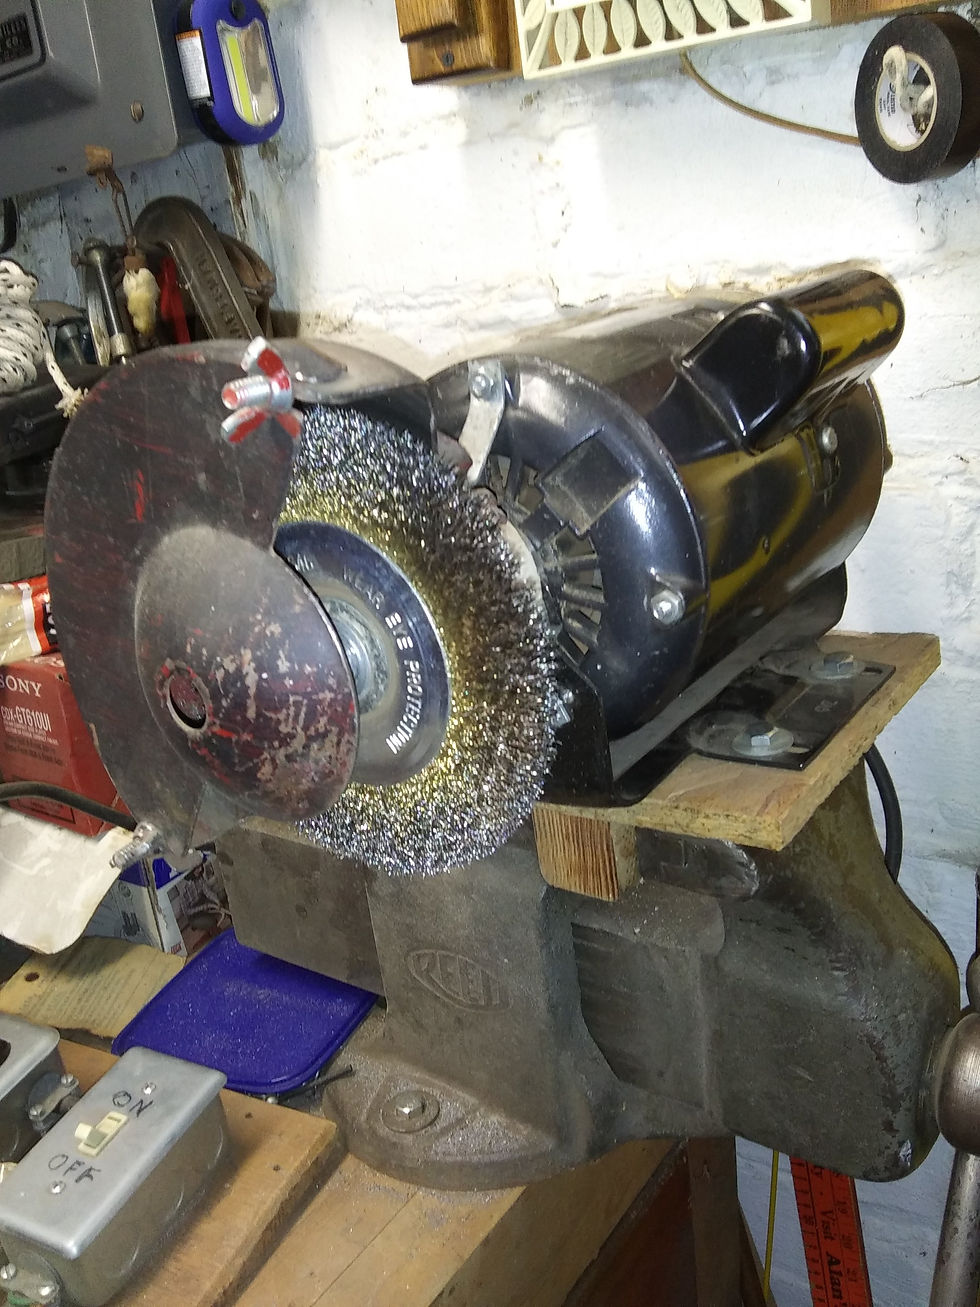
Any time you’re using something like this, you should have eye protection (the wires do shoot off the revolving brush at times) and probably a mask to keep from breathing particulates that you’re removing from the item. Brass wire wheels are much more forgiving to fingers than steel wire wheels, but certainly gloves could/should be worn if the article you’re cleaning isn’t large enough to hold with fingers safely away.
Here are two pictures of me using the wheel on my sad iron:
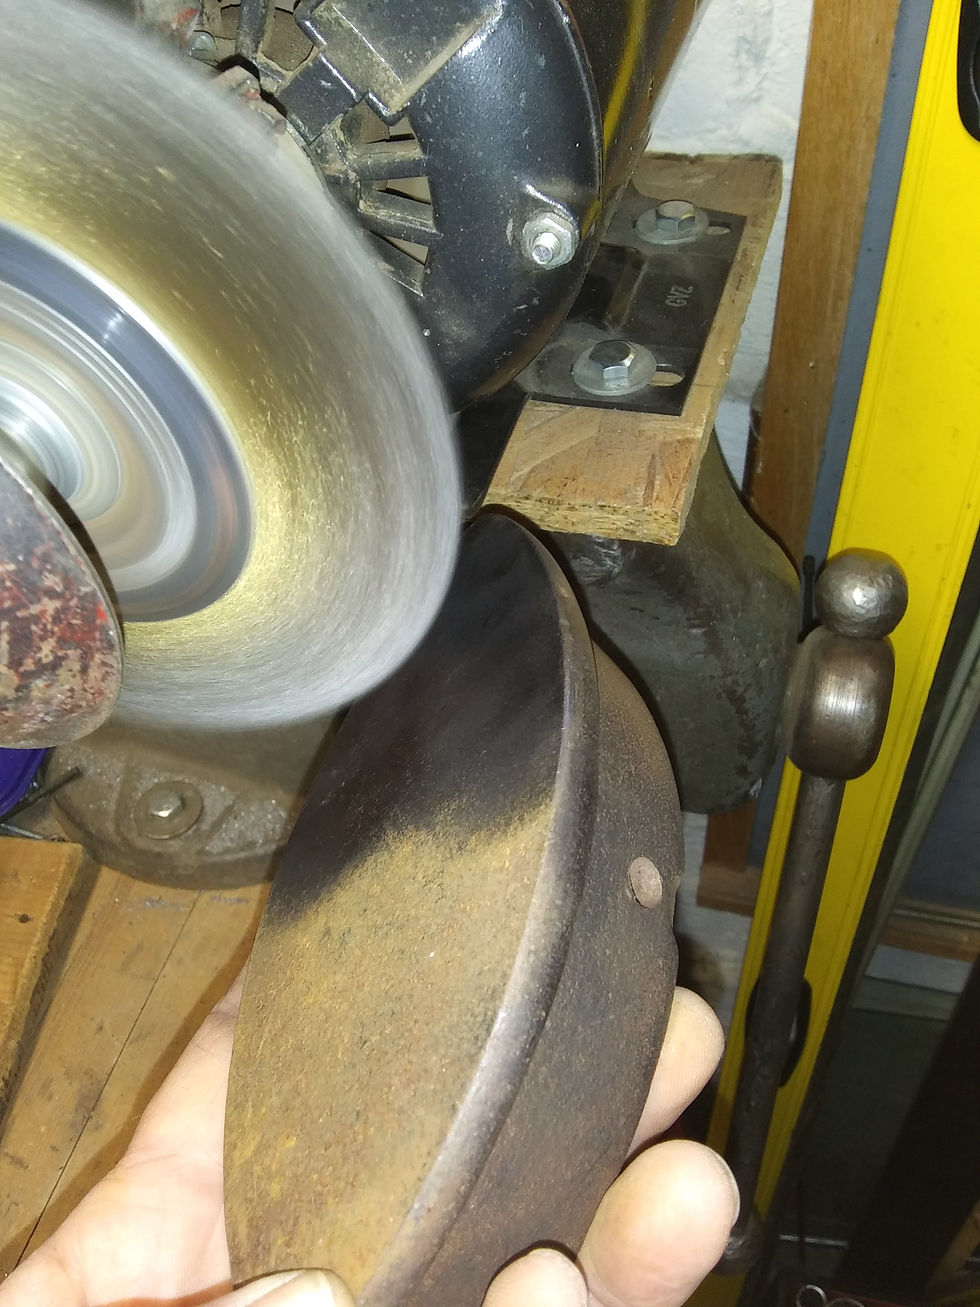

It only took about 10 minutes of brushing to get the surface rust off and make the sad iron look good.

You can protect the cleaned iron from re-rusting by coating it with any of various rust converters, or even a coat of polyurethane, which is what I used. I have to state the usual blah, blah, blah about not endorsing a particular brand of anything, but this is what I had on hand and I like using it very much:

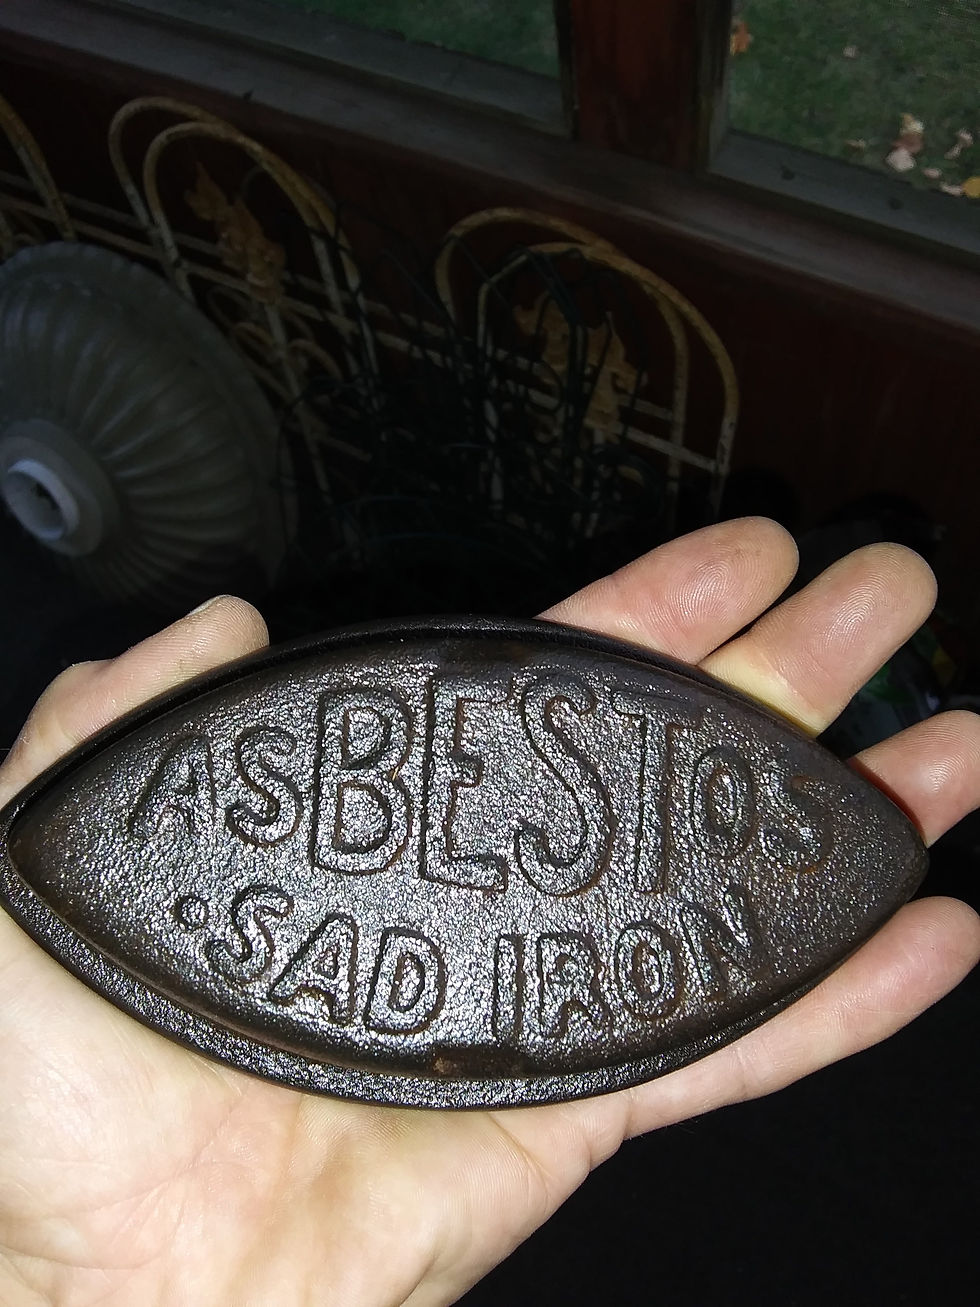
It was only about 30 minutes later that I test-touched the finish, and it could already be handled. Here’s how the new doorstop looked after completion, and I do believe it’s now a happier sad iron!
I hope all your projects go well. Thanks for reading, and happy restoring!
Ed
PS: If you'd like to download a PDF of this article for future reference, here's the link:


Comments