Ideas from Ed: Ugh! Plastic plumbing! (Vol. 4, Issue 8)
- edwardpetrus

- Aug 1, 2021
- 4 min read
I’ve said this before. Some of my columns are more to help the do-it-yourselfer do it himself rather than to showcase restoration or preservation. What you see is what you get! I write these columns as I find myself replacing, repairing, or installing things around the house. Nevertheless, I hope you learn a thing or two that will help with your own projects.
This month’s issue was a spur-of-the-moment repair. I was in my basement, and noticed water dripping onto a workbench from (apparently) the kitchen sink above. I didn’t know if it was a supply-side or a drain-side issue, but the whole area under the sink was soaking wet. After removing all of the scouring pads, cleansers, shoe polishes, and a lot more, I was able to stick my torso into the cabinetry and look around. What first appeared to be a spiderweb turned out to be an incredibly fine spray of water, from a pinhole in the PLASTIC line between a below-sink water filter and a dedicated sinktop faucet used for the filtered water. Who ever thought a plastic line would suffice for a water supply? Give me his name and I’ll send some goons over to give him the old one-two! Seriously, that line was obviously supplied by the maker of the water filter kit, and has held up for many years. Why it suddenly developed a pinhole leak is one of those questions I’ll never have suitably answered.
Long story short – I turned off the water supply valve to the cold supply lines, as well as the flip-switch on the filter unit itself, and mopped up the water. I planned to make a “hardware run” in the morning, once I figured out how to deal with things. Here’s a picture of the plastic line in place:

Of course, removing the bad line was the first step. Although most people would grab 2 small adjustable wrenches (often called “Crescent” wrenches because of the company that made them famous), I very much prefer using a special type of wrench, usually used for brake lines on automobiles. That wrench is a combination of a box wrench and an open-end wrench, and is called a flare-nut wrench. The box design grips the object being loosened better than an adjustable wrench, yet a slot in the “box” allows it to be slipped around a fitting even with a protruding tube. Here’s a picture of an adjustable wrench next to a flare-nut wrench, and one showing how the better wrench more properly surrounds the fitting:


I said you might grab TWO wrenches, because at some fittings (like at the filter end) it’s important to hold the main section in place while removing the cap. Ditto when re-installing.
Here’s the junk supply line after removal:

I reasoned that it’s not likely that the plastic tube is something “special” and unique, but was likely a cheaper alternative to stronger, more costly components like copper. Upon measuring the diameter with a micrometer, this was confirmed, as the outside dimension was pretty close to ¼ inch. SO, I went through my stash of stuff saved from other projects, and found a small coil of ¼ inch O.D. soft copper. It was likely left over from some other low-volume use, like perhaps supplying water to a furnace humidifier. Here it is:

Soft tubing like this is used in combination with brass compression rings that slip over it. When the “cap” is tightened down, it presses the compression ring into the receiving fitting, essentially “squashing” the brass tightly around the copper. Here’s what was needed, in addition to the copper tubing:

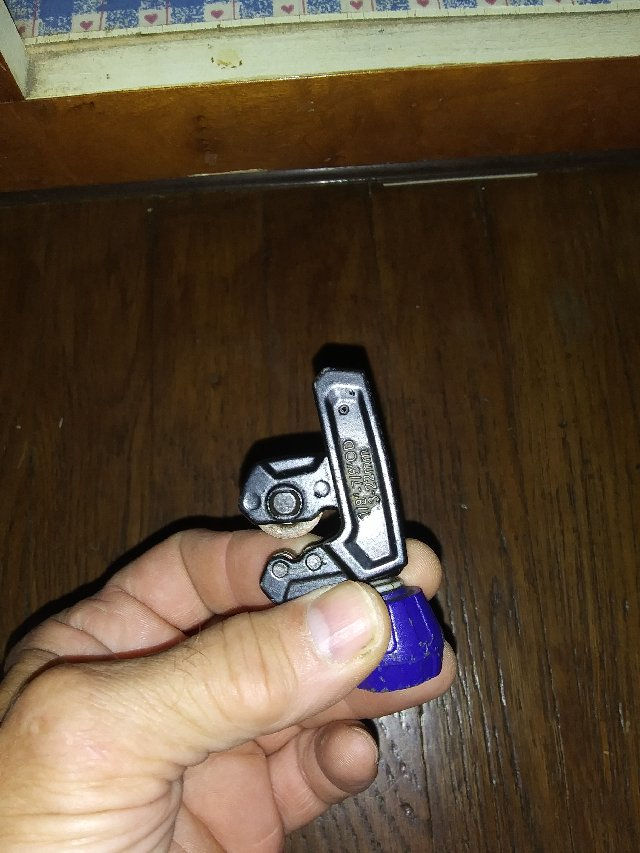
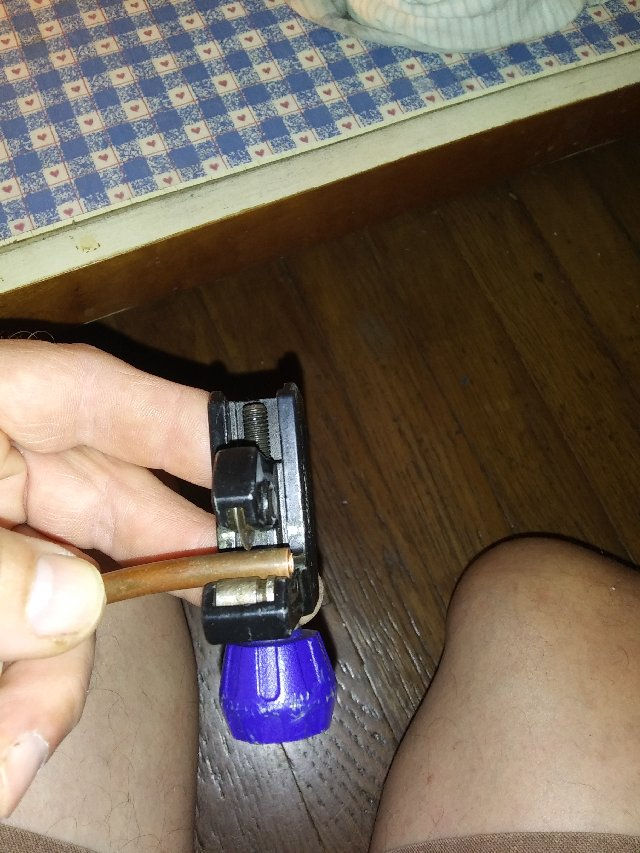
You should always begin with a section of tubing that’s pretty straight, and then cut the end perfectly square using an appropriate cutter.For something as small as this tubing, I just use a small thumb-rotated cutter:
First the “cap” goes onto the tubing (small opening first) and then the compression ring slips on:


It’s important that the tubing enter the fitting as straight as possible. It’s also important to avoid over-tightening things. It really doesn’t take a “fear of God” effort, and it’s always better to have to give a bit of a nudge tighter than to have done it too much and distorted things. In that case, all you can do is start over with a new compression ring and a new tubing end.
Soft copper, especially in this smaller size, bends easily by hand, as long as there are no incredibly tight curves needed. While I hope you take pride in your work and make things look nice, the water won’t care as long as it gets from point to point. If you DO have tight curves needed, various tools are available to assist, ranging from a simple spring that slips over the tubing so the coils keep things from crushing, to fancy gadgets that look like pliers on steroids, with rollers and guides to make smooth curves.
Here I am tightening the fitting at the dedicated faucet.(I hope you appreciate how difficult it is to get into some of these positions and work, while taking pictures!)

Finally, here are two shots of the completed connections. Water was gently turned back on but the sink cabinetry was left open to continue drying and to watch for any needed tightening. There were no leaks!


I hope all your projects go well. Thanks for reading, and happy restoring!
Ed
If you’d like to download a PDF of this “Ideas” column, click here:


Comments