
Ideas from Ed: Gutter Brawl (Vol. 9, Issue 11)

Actually, this month's title is a bit of a misnomer. A "brawl" implies fighting, difficulties, and issues. While I do believe that adding roof gutters to a large building is best left to professionals, there is no reason why the average do-it-yourselfer can't handle the task for small structures like my shed. There was very little brawling on this project!
My newly-built shed (see last month’s Ideas column) has a roof 11’ 10” long. Most “big box” stores carry gutters in 10’ lengths, meaning I’d have to use one full-length piece, a joining piece, and a small stub to get my needed dimension. I chose to use a local builders supply that custom-makes one-piece seamless gutters. For $3/foot, I had gutters made to the exact length needed. I picked them up instead of incurring the cost of having the forming truck come to my home.
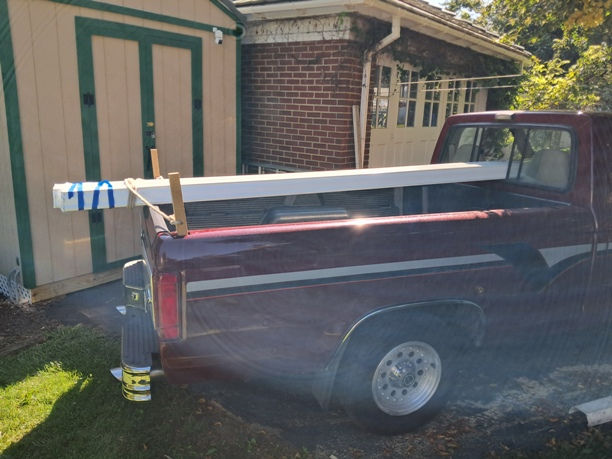
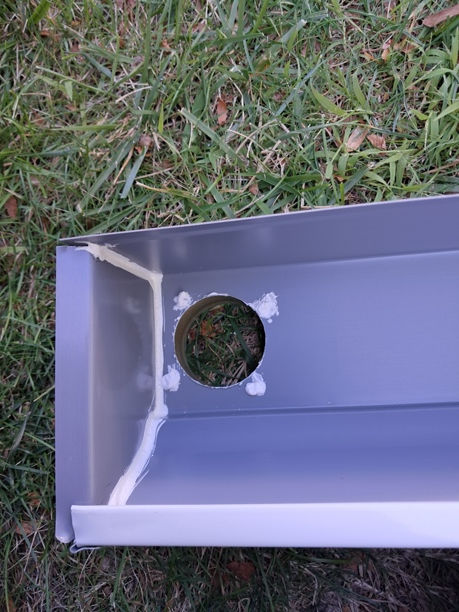
The gutters came with end caps already crimped on and the inside edges sealed with special gutter caulk. Were I to do this again, I’d ask the supplier not to install the end caps that way. While this may be “standard procedure” the ends look better if just pressed in place and anchored with a few white rivets.


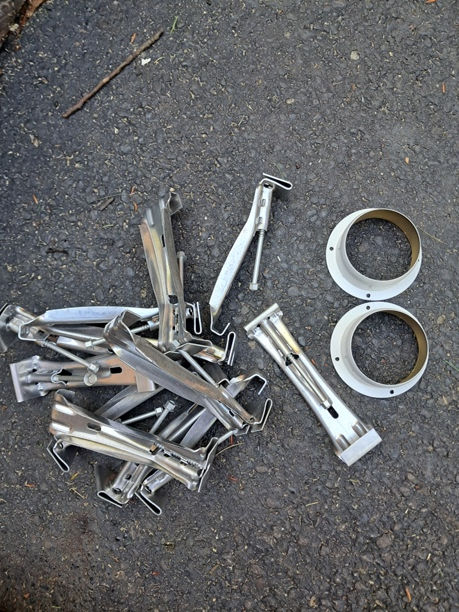
I also purchased a dozen “hidden hangers” and two “drops”. Rectangular drops fit better into a downspout, but circular drops are easier to install. There are several types of hangers, and a lot comes down to personal preference, but I’d recommend staying away from the “spike and ferrule” type as well as the ones with straps that attach to the roof itself. Both are visible, and the nail-in spike type just doesn’t hold as well as screw-in ones.
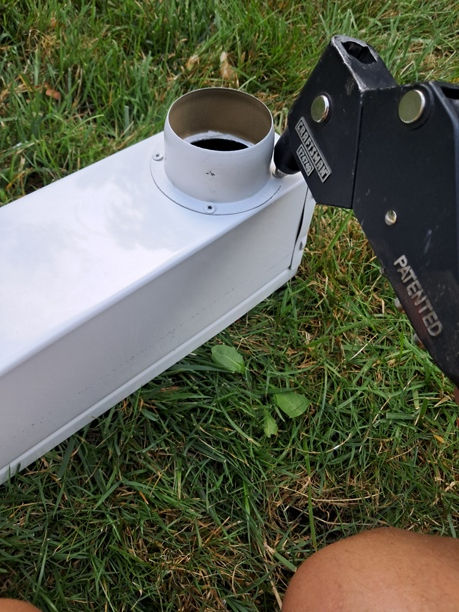
I used a hand drill and large Forstner bit to drill the holes for the drops, once I located their needed position on the gutter. In my case, as close to the ends as possible was ideal. I used aluminum pop rivets to anchor the drops and covered the rivet ends with a dab of gutter seal. It’s important that the rivets be aluminum if the gutters are aluminum to avoid “galvanic action” between dissimilar metals.
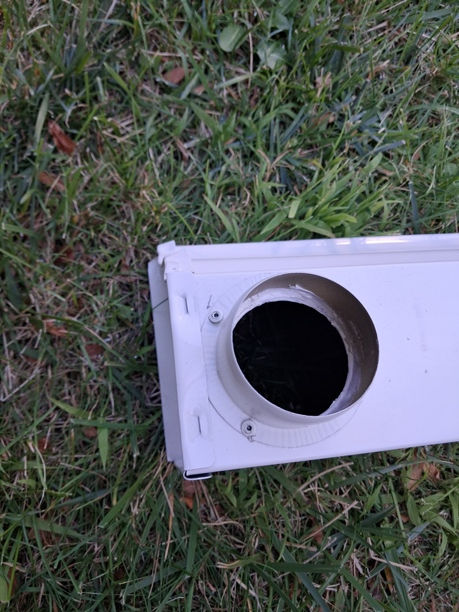
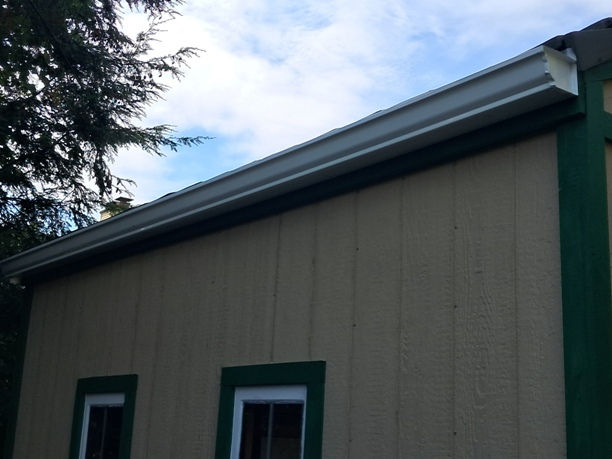
Gutters should have a slope toward the outlet of at least ¼” for every 10’ of length. For my nearly 12’ gutter, I tried to establish a 3/8” drop from end to end. What worked best for me was to test fit the gutter in place and locate a good center point, then adjust the ends up and down to achieve the desired slope. Another good way is to use a chalk line to set a level indicator on the fascia board, and then install the gutter using the level line as a reference. I’ve seen professionals carry and install surprisingly long lengths of gutters, so it wasn’t too hard for me to handle my relatively short section.

While not always possible or necessary (especially with roofs that aren’t steep) it’s also a good idea to locate the gutter below the roof edge enough so that snow sliding off will go over the gutter rather than possibly tearing it off.
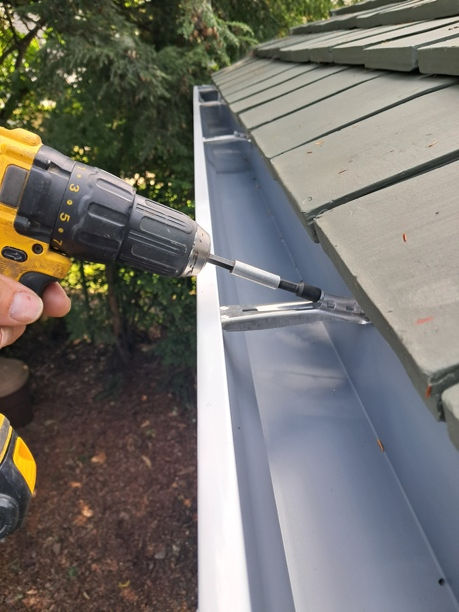
With a heavy fascia board, something like a 2x6, perhaps, I’d install the hangers about every two feet. In my case, the fascia board is a 1x6 attached to rafter ends that are 16” on center. I chose to install the hangers, 6 per side, at locations where they would have the strength of the rafter ends. Thus, the spacing was 32”. A battery-powered drill and nut driver made short work of attaching the gutter along the intended line.
I chose to use a plastic downspout rather than aluminum, but either would be fine. The oval downspout slips over the circular drop at the gutter end. I used a small stainless steel screw to hold things in place. Note that the screw isn’t completely driven in, as doing so would introduce a point where debris might get caught. The downspout could also be riveted in place but would then not be removable. It can also be left unattached at the top provided enough strong hangers hold it in place to the side of the building.

There are several types of clips and straps to hold a downspout. I chose to use these snap-in plastic clips, but also used stainless steel screws into the downspout to reinforce the clip strength, thus holding things securely. I made small spacer blocks from pressure-treated wood to set the gutter away from the shed a bit, making the downspouts nearly vertical for appearance sake. I cut the top edges of the spacer blocks at an angle to shed water and stained them the same as the shed trim.

I put little kickouts at the bottoms of the downspouts, and this project is finished!


I hope all your projects go well. Thanks for reading, and happy restoring!
Ed
If you’d like to download a PDF of this “Ideas” column, click here:


Comments