Ideas from Ed: Spool table (Part 2) (Volume 6, Issue 5)
- edwardpetrus

- Apr 30, 2023
- 5 min read
Welcome back to my project to save an old folding bassinet from the dump! The plan involved converting it into a small table. If you didn’t read the beginning of this saga but want to, here’s a direct link: https://www.lcppreserve.org/post/ideas-from-ed-spool-table-part-1-volume-6-issue-4
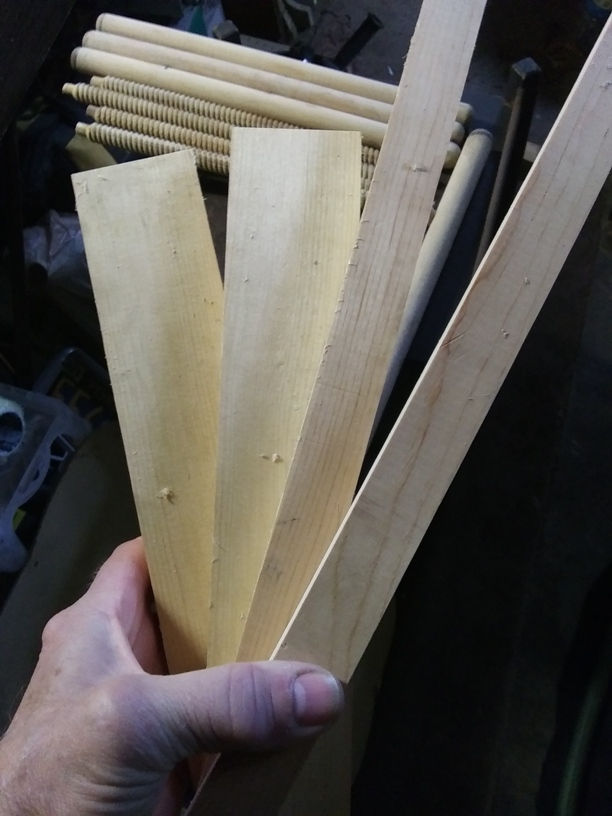
Last month’s column left off after I purchased a glued-up top and cut it to the rough rectangular dimensions needed. I realized that the folding hinges for the legs have to attach to a vertical surface (like the old frame that was supporting the original upper section of the bassinet.) I also know that edge-glued boards like I had purchased don’t have much structural strength. (They don’t even have biscuits or dowels holding them together.) So, I couldn’t just use the glued-up panel alone as the top, but needed to install a sub-frame under it. That frame could supply the needed strength as well as provide vertical surfaces to which the hinges could be attached. I cut and glued that framework to the underside of the top panel before cutting the curved edge or doing any shaping. Here are the pieces I cut – the short/wide ones will go across the panel for strength, and the long narrow ones replicate the same pieces on the original framework. I glued and clamped them in place one at a time.

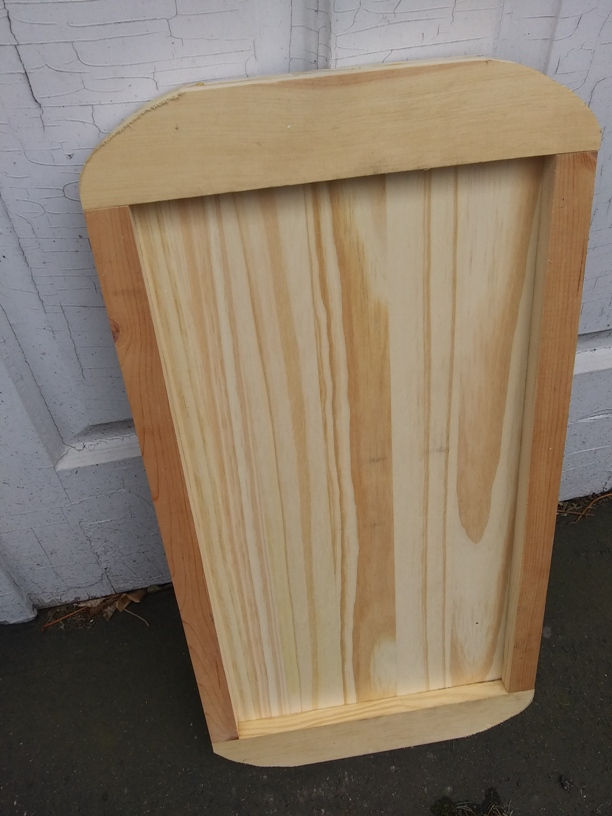
Here’s how the frame looks all glued in place under the main tabletop. I cut the curved corners to rough shape on my bandsaw, but not right to the pencil line.

To get the corners precisely to the lines, I used a sanding disk in my table saw. It cuts rather quickly in the soft wood and leaves a very nice and very perpendicular edge.


I then placed the original frame atop the new frame and poked through the holes with a screw, thus locating the spots where the leg pivots will attach.

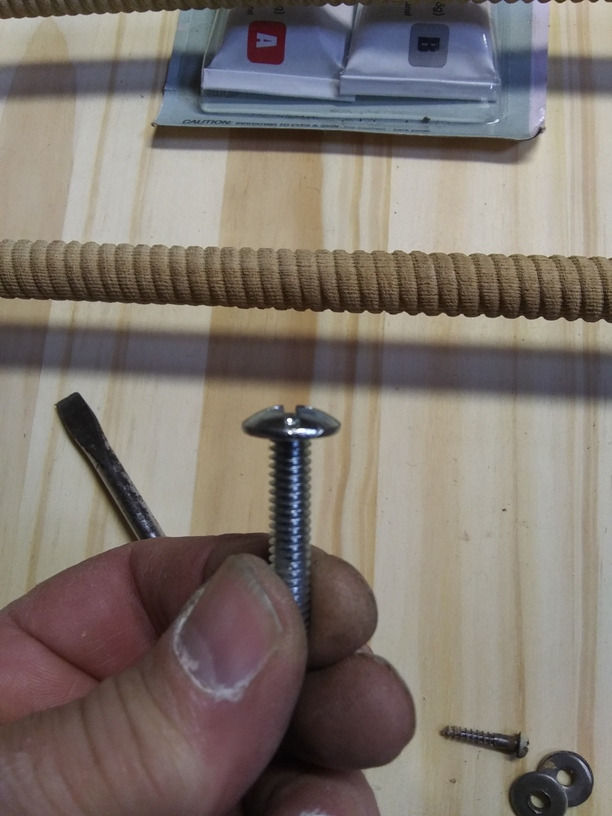
The original pivots were through-riveted, but I didn’t want any hardware shown on the top side of the table. I tried a rather unconventional way to get those pivots attached. Some will say it’s absolutely the wrong thing to do, but for a small table like this that won’t be subjected to a lot of stress, and hopefully will never need to be disassembled again, I wanted to give this a try. Essentially it involves driving machine screws hard into undersized holes, pretty much cutting threads as they go. Then they are extracted, the threads coated with epoxy, and they are driven back in. This is very easy to do in soft wood, and the combination of the threads and the epoxy make a pretty strong connection. For the pivot screws, I purchased “truss-head machine screws” which have a large diameter head, but one that is quite thin. I needed something like that so the legs could swivel without interference with the screw head. Here’s what truss-head machine screws look like:
Here is me drilling those holes, 3/64” undersized, and forcing the screws in to cut the threads.


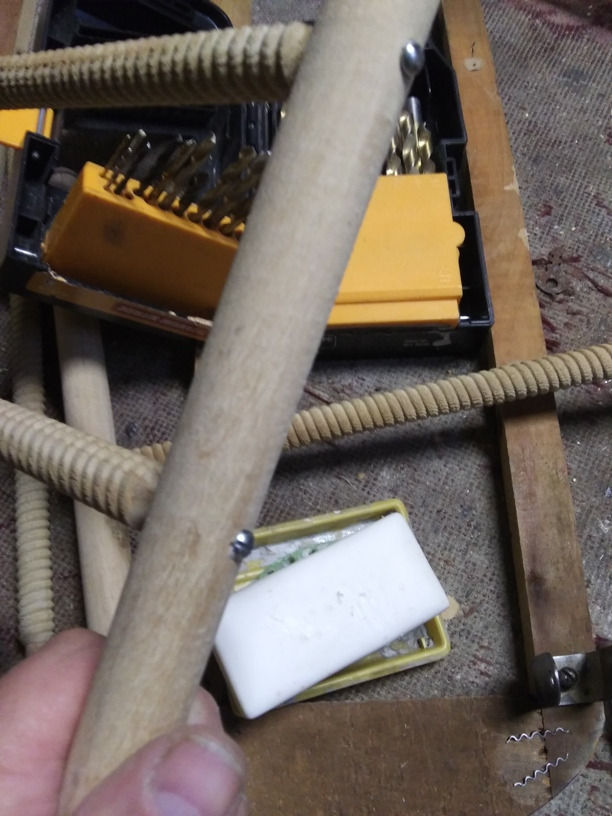
I reassembled the leg/spindle combinations with a dab of wood glue in each spindle hole, and new through-screws as was done originally. A scrape of each screw across a bar of soap allowed the screws to be driven without much difficulty. (That’s especially critical when using slotted-head screws, which are much more likely to slip than Phillips-head or Torx screws.)

I attached the leg pivots (with the epoxy mentioned above) and the screws. I installed the leg assemblies into the pivots and tested to be sure things would swing and fold as designed. I then attached the leg “hinges/locks.” I had quite a bit of difficulty doing so, and ended up having to bend 2 of them slightly to give adequate clearance past the machine bolts holding the legs in the pivots. That’s probably because I didn’t get the “splay” of the legs exactly as they were on at least one side.

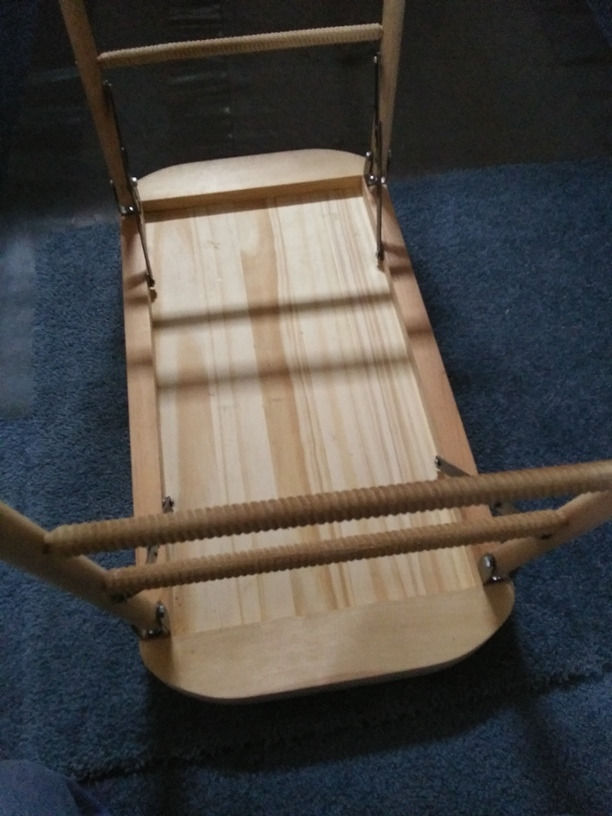
Since I had that difficulty getting everything aligned well enough to function smoothly, I decided NOT to disassemble it all again prior to any stain or finish. With everything being either wood or metal, I shouldn’t have any real issue applying the finish to the assembled piece. Here it is, ready for finishing, but before reattaching the casters. I was originally thinking that I’d run my router around the edge with a feature bit of some sort to make the edge just a bit fancy, but I actually like it the way it is, just very slightly rounded over, by hand, with sandpaper.

Before I get to the actual finishing, I’d like to remind you all of what I’m trying to do. It’s not just about saving an old piece of furniture, but it’s also about encouraging you to be less intimidated to take on projects like this. I doubt if any of you will have a bassinet that needs saved, but you can apply the same general procedure to most any restoration need. The basic steps are:
1) evaluate the item
2) careful disassembly (document everything!)
3) clean and repair as needed
4) careful reassembly (refer to your documentation in step 2)
5) finishing
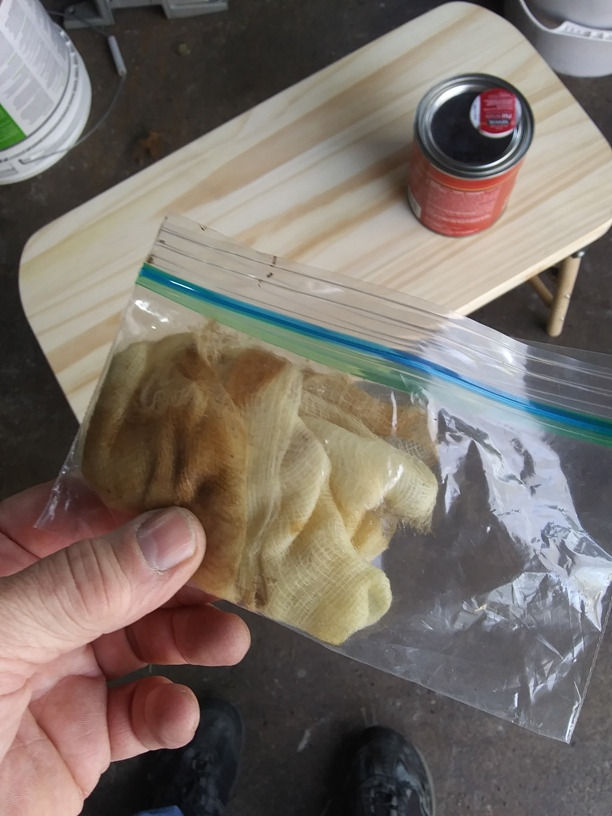
To get a nice finish, you need to get the surface cleaner than you can by just dusting the sawdust off. I used a tack cloth, which is like a sticky mesh, and it picks up the smallest of crumbs of dirt from the surface it’s wiped over.
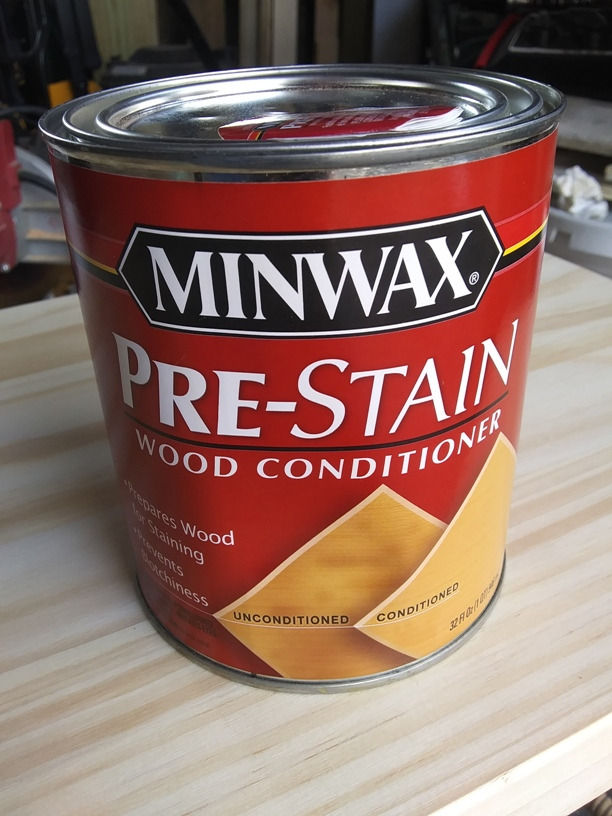
Soft woods like pine, fir, and spruce are difficult to stain evenly. Some areas tend to absorb stain better than others, often resulting in a “blotchy” appearance. To help control this, I used a pre-stain wood conditioner. Again, no brand endorsement is intended. To use it, the surface is “flooded” to let the conditioner soak in, and then wiped off. Staining has to be done within an hour or so afterward.
The finish itself can be as light or as dark as you desire, and as glossy or flat as you want, depending on your choice of materials. A few words of caution, however – different woods accept stain differently, so often in a project like this where the top is pine and the legs are likely maple, it will be difficult to get things all to have the same appearance. In that situation (like mine with this bassinet) it’s best to shoot for lighter shades of color. Using darker stains might make one section dramatically different than parts made of different wood. Here’s the stain I used. You can use your favorite brand.

The nice thing about an oil stain like this is that it actually goes on in a light shade, while subsequent coats can be added to deepen the color. That makes it a bit easier to keep control and to get the shade that you want. Danish oil stains can be used as the final coat if the sheen is what you like, or a topcoat of something like a polyurethane can be added for more protection. You can also apply a paste wax (as I like to do,) let it dry a bit, and then buff it. Here’s the bassinet after staining and popping the casters back on. It will make a nice little side table when needed:

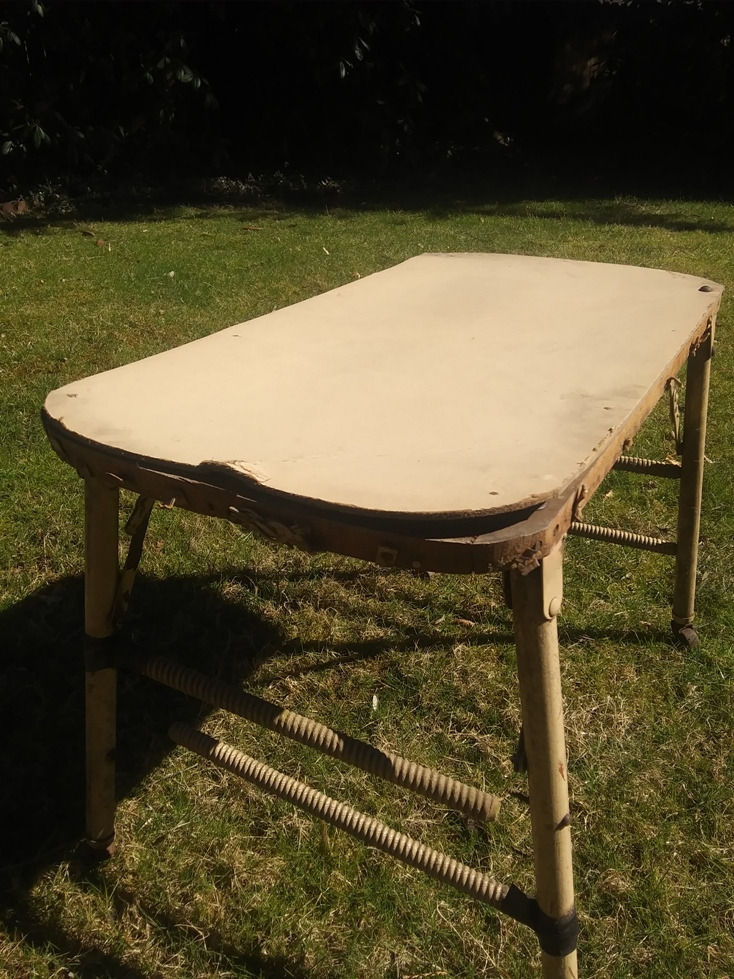
I think you’ll agree it was worth the effort to rescue this poor bassinet!
I hope all your projects go well. Thanks for reading, and happy restoring!
Ed
If you’d like to download a PDF of this “Ideas” column, click here:


Comments