Ideas from Ed: A Simple Step
- LCP4P

- Jun 1, 2020
- 4 min read
Updated: Nov 23, 2020
“Ideas from Ed” (June 2020)
Ed is a do-it-yourselfer who is happy to share some of his ideas and experiences in this monthly column.
This month: A simple step
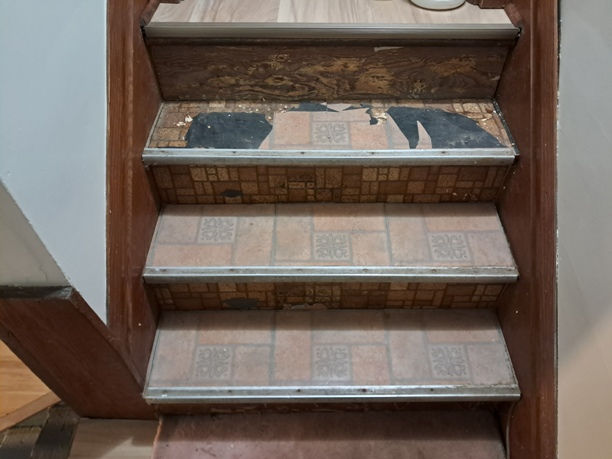
In my part of the world (western PA), many houses have basements, and some even have direct access to the basement from one or more outside doors. This month, I’m showcasing my repairs to a seriously ugly old concrete step, crumbling from poor construction, wear, and exposure to the elements. (Actually, I repaired the set of steps, but will only show the top one in this article.) Trying to use these steps was a disaster waiting to happen. Here are pictures “as was” and one after brushing/knocking away all the dirt and loose pieces, the obvious first thing needing done in any repair:


I decided to make a new layer atop the old, and in front of the riser, since both had enough “room” so the extra thickness and change of profile wouldn’t be a problem. (Besides, doing it on each step negates most of the difference which would be noticeable if only done on one step…) I cut a board to fit tightly as a form for the pour. Since there would be no real pressure against it, I just used a piece of 1×8 pine. For an easily-removable form, “something” needs to be applied to the face of the wood, and many folks use oil. Again, in my case, with such a small job, all I did was to face the board with a piece of waxed paper. It’s a little hard to see in the picture below. I merely held it in place with pieces of duct tape on the reverse:


Here’s the board, jammed into place and braced as needed so it would not move:

The real star of this repair is the material I used. (Again, I make absolutely NO endorsement of particular brands of materials, tools, or accessories. These are just what I use, what I like, and what I’m showing you. Certainly other products are available which can be substituted.) Here’s a bag:

Technically, it’s NOT concrete, but mortar, since there are no large aggregates. However, this particular material can nearly be feathered out, can be used up to 4 inches thick, begins to set in 15 minutes in average temperatures, and in about an hour, forms can be removed! The 28-day strength (used as a standard when comparing concrete mixtures) is over 5500 PSI. That’s mighty strong. Most concrete pours, like for a sidewalk or driveway, are 3000 or 4000 PSI. Because of the fast set, work must be done quickly and efficiently when using this. In my case, it was cold outside, so I used warm water in the mix to speed things up. Cold water could be added to slow things down in hot weather. Also available is an admixture, a plasticizer, which makes the mix much smoother and liquid, without losing strength. That’s great if you’re making a kitchen countertop, for example, and want absolutely no voids and a glass-smooth finish, but not necessary for the step repair I did.
I estimated that I’d need about a half of a bag to repair the one step. Because the repair was so small, I mixed it by hand with a trowel, in a tub normally used for auto oil changes. It worked well, and took about 3 “loads” mixed quickly to have enough to do the whole area. Here’s the tub with the dry material, and the tub after adding water. If you’re trying this, you should read label directions on how much water to add, of course, but I will warn you that it takes very little water to go from “a bit too dry” to “way too wet”, and very little material added to go from “too wet” to “much too dry”. I went slowly, turning the material over with a trowel to be sure everything was well-mixed.


If you’re a concrete expert (I’m not) you probably have fancy things like synthetic, magnesium, and wood floats. Since we’re talking about do-it-yourselfing, here’s a wooden float quickly assembled to get the job done. I also used the metal trowel to push the material as best I could into the gap between the form and the old concrete.

I should also point out that when working new “concrete” against “old” concrete, it’s necessary to wet down the old material with water to help the bond. I was working on a rainy day, and was actually trying to keep things dry so I don’t show that “wetting down” procedure.) Once the material was placed, and smoothed with the metal trowel and the wood float, I wanted to make the leading edge a bit more professional-looking by “easing” it a bit. There’s a special edger available to do the job, and it looks like this and is used like this:


Like most people, I wanted the step to have just a bit of “grip” to it, so once the set-up started, I used a mason’s brush to get what the tradesmen call a broom finish:


After about an hour, I removed the form so that I could work on the next, lower levels. I didn’t quite get the mortar mix 100% pushed down in the front gap, but did pretty well – certainly good enough that a quick smoothing-over with a few dabs of the mix could fill things in. Here’s the step after pulling off the form:

I hope all your projects go well. Thanks for reading, and happy restoring!
Ed


Comments